App Server
Introduction
The app server is the core of your solution.
It serves web pages, performs validation & error handling on inputs and executes business logic. It is the back end of the application while the web pages served comprise the front end.
This post will show you how to write and deploy a basic application server written as a node.js application.
If you develop in a language other than node.js, the concepts in today’s post will be useful even if the implementation details aren’t relevant to you. You may still learn something that you can apply to your own server.
If you’re new to node.js, you’ll need to first install it and some node modules. If all of this is new to you, don’t worry. I’ll cover setting up your development environment in another post tomorrow.
The Code
My base server will look familiar to anyone who uses Express, the web framework for node.js. There are only so many ways to load node modules & instantiate your server with app.use(foo..) statements.
Take a look at the code block here:
// always use node in strict mode.  this will help you avoid silent errors
as well as ensure that available optimizations can occur
see https://developer.mozilla.org/en-US/docs/Web/JavaScript/Reference/Strict_mode
for details

'use strict'

// declare our constants.  you'll see different styles in play here if you
review a lot of node.js code. some devs will use 'let foo = require('bar') rather
than const or may run all the lets or consts into a single line.  use whatever
style you like.

you may also notice that i do not terminate my statements with a semicolon, ';'.
semicolons are not strictly required and the few cases where one is required,
the javascript parser will insert it automatically according to well-defined
rules.

const express		= require('express')
const app			= express()
const http			= require('http').createServer(app)
const httpPort		= '80'
const bodyParser	= require('body-parser')

// serve static files from a directory named public that is in the same
// level as the server currently running, i.e. this file
app.use(express.static('public'))

// validate all user-controlled input before trusting it for further processing
app.use(bodyParser.urlencoded({
    extended: true
    })
)

// APIs and other business logic go here

// finally we start the listener process bound to the port
// defined in the httpPort const at the top of this server file
http.listen(httpPort, function () {
    console.log('HTTP server listening on port', httpPort)
})
Now create the public directory defined in your server at the same level as the server file. For example, if you are inside a directory named base-server and have saved the above described application server file as base-server.js, you will create a public directory at that level.
Change into the public directory and create a new file called index.html. Save that file and then go back up one level to the base-server directory.
Your file structure should look like this:
/Users/jbminn/source/base-server\>exa --tree
.
├── base-server.js
└── public
   └── index.html
You don’t need to use any of these names nor does the application server file name need to match the directory name in which it exists. Those are conveniences that I’ve adopted to provide visual cues about what’s in a directory structure for later searching.
The only naming requirement here is that the public directory name match the name you defined as your static directory in the server.
Create and save public/index.html with content something like this:
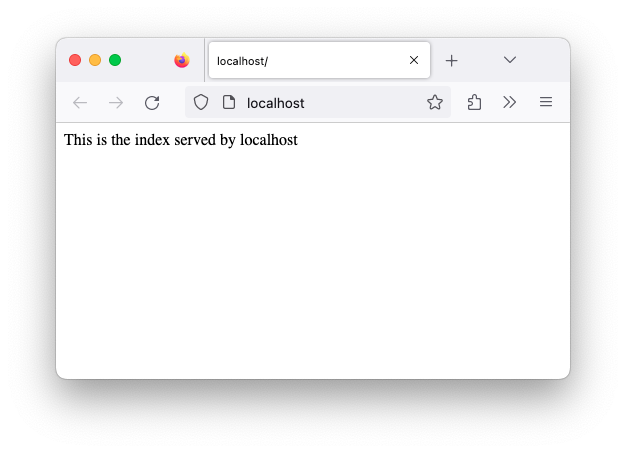
/Users/jbminn/source/base-server/public\>cat index.html
This is the index served by localhost
You can have anything you want in the index file - just ensure it’s simple text and that it will be clear to you when it’s rendered in the browser.
Once the index file has been created, start the server.
/Users/jbminn/source/base-server\>node base-server.js
HTTP server listening on port 80
If the server starts up with errors, resolve those. You should receive informative error messages that guide you to a solution. In an exercise like this, looks for typos.
Once the server starts error-free, you’ll see the message HTTP server listening on port 80 in the console. This may be different if you changed the message or port number in your server file.
Now you can go to localhost in your browser and you’ll see the contents of public/index.html rendered in the browser.
Up Next
You now have a functional app server written in node.js. It doesn’t do much yet, but we’ll use this as the basis for business logic that I’ll cover later in this series. I’ll also cover setting up your development environment.
In my next post, I’ll add the health check API.